First Window Is In
First Window (a technical post)
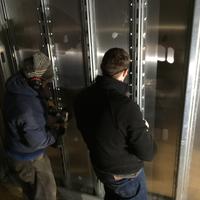
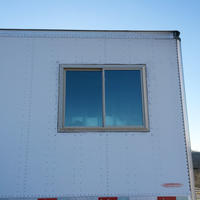
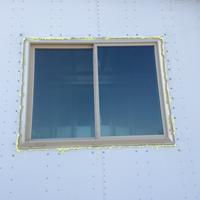
We have managed to get the first window completely installed. I can't express how much anxiety I had about making this work (and work perfectly), as failure could mean structural problems, water leaks, heat conduction, etc. Other than my terrible caulking job, I think the end result is extemely solid. Now we just have to rinse and repeat!
The Windows
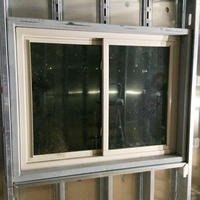
My father was able to source seven, 46-3/4" x 57-1/2", triple pane, vinyl, two-lite horizonal sliding windows, used on Craigslist for $500 (for all seven!). This was an amazing find at a great price. I couldn't care less that they were used, maybe a little dirty, etc. In all of the mobile installs I have ever seen, normally the windows are horizontal sliders. I couldn't quite figure out exactly why that was, but I figured why re-invent the wheel when the materials were likely available to do it the same way. That being said, along with the sliding patio doors we picked up at the ReStore, we are designing the trailer around the materials we have sourced. This of course, is pretty much backwards from the way one would probably build a building or house. Normally, you design and build rough openings, and then order the windows and doors to fit them. Because we're doing it backwards, and they are being installed in a dry van semi trailer, we had to have openings that were perfectly fit to the windows and doors.
The Frames
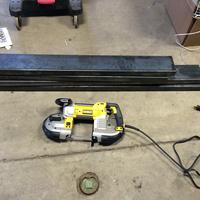
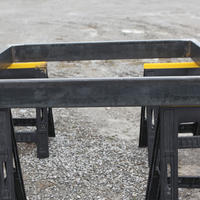
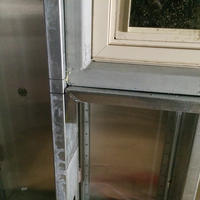
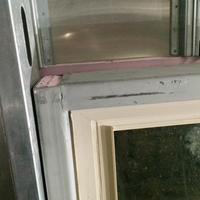
There are a lot of issues at play here. First, the frames have to hold the weight of the window, and the weight of the framing above the window. Normally, you use cripple studs below and a header above. Now, I might have been able to make that happen with just the steel studs and track I've been using for everything else. But there are other concerns with this being a mobile unit, and with the general construction of the trailer. With the construction of the trailer, I had an existing aluminum skin riveted to steel stifners. If you've ever seen a dry van trailer riding down the road, you'll notice that the whole thing flexes and torques around due to the road and wind. Basically, it's not particularly stiff. In fact, I'm pretty sure it's designed to be as light weight as possible, and probably doesn't matter that it flexes alot during transit. That unfortunately, would be a problem for a window with glass. All of the standard RV windows I've seen are basically very small, single paned, and probably can take a fair amount of flex along with the skin of the unit. The thing is, I'm installing triple pane vinyl windows for a house, and those are meant to be stationary. Therefore I would need a very stiff frame to hold the window to protect it from the rest of the trailer. I decided to build a rectangle out of 3/16" x 2" x 6" rectangular tube mild steel. We built these, in what I like to call exact fit. In other words, the frames were welded to with the vinyl frame inside (not when we actually welded, but you get the idea). That way, I knew that once the frame was installed in the trailer, that the window would fit right in (and without needing shimming, etc). Also, it would minimize the gap between the aluminum skin and the window itself (to make flashing easier).
Thermal Break
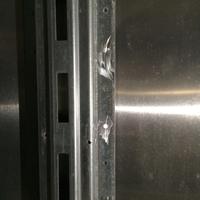
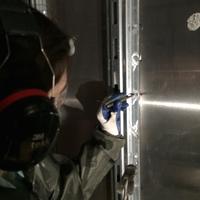
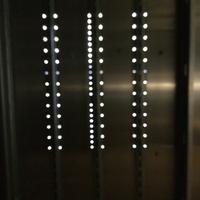
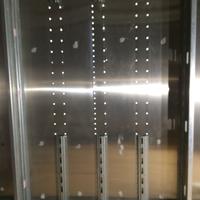
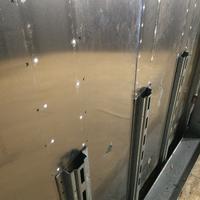
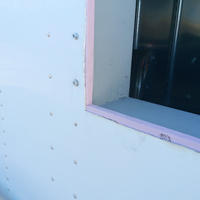
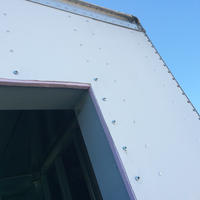
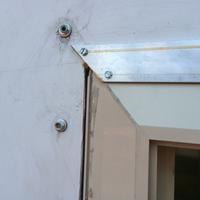
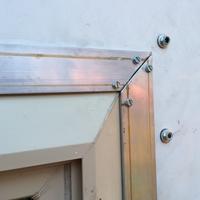
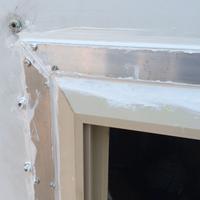
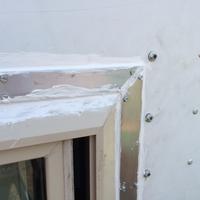
Like all of the steel (frames, studs, track, etc), I have installed 3/4" of RPS foam between it and the outside materials of the trailer. Basically, the welded frame is sitting on steel cripple studs, and is sucked into the aluminum skin (with foam in between) with fasteners from the outside, which you can see in the pictures above. This made the whole thing extremely stable. So, even if the entire side of the trailer flexed, the welded frame would move with it, but would not transfer any flex to the window inside.
It works!
Basically, once I got the frame in, the window slid right in. And the moment of truth: the sliders worked perfectly. I just had to fasten the window to the frame, and then I fitted 1/8" x 1-1/2" aluminum flat bar as flashing. I then used closed cell spray foam to fill in the gaps, and then used window and door sealant to put the flashing back in place. It was a TON of work. But the install went perfect, and I don't really have to come up with any more solutions, but just to do it again, and again, and again....


