A Look Back: Openings, The Process
We recently had someone write in with questions about how we cut the openings for the windows and door so Noah put together this outline:
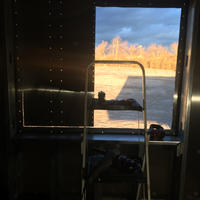
- The 2” x 6” x 3/16” box steel frame was cut and welded to the size of the used window we were working on (we lucked out on 7 windows on craigslist).
- This gave us the dimensions for prepping the side of the trailer
- We measured and cut back the stiffeners based on the window frame size. We tried to cut back at least 3/4” on all outside dimensions so that the spray foam would fill that space (to prevent metal to metal thermal conductivity)
- We framed out below where the window frame would be
- We lifted the frame into place to make sure that we had enough of the stiffeners removed, and also to draw in the cut for the angle grinder (for the aluminum side)
- At this point, the frame was touching the aluminum
- We always drew to err on the inside of the opening, we always had to remove a bit in a later step
- We lifted the frame out and cut the side
- We faced the frame with 3/4” RPS foam and lifted it back in
- We attached the frame from the outside utilizing the existing rivet holes from the stiffeners
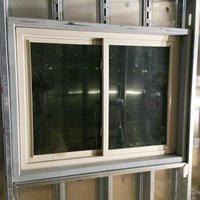
- We then *carefully* used the angle grinder to remove excess material for the window to slide flush with the aluminum
- We added 1/8” aluminum piano bar as flashing to bridge the gap between the aluminum side and the window itself


