![]()
Furnace Details


A few posts ago, I wrote about our furnace, which is officially installed and in working condition. After moving the orientation of the front of the furnace a few times, it found it's final resting place with the fire/door view facing our bedroom. We couldn't help ourselves -- we knew we had to take advantage of this 'fireplace' and come up with a solution so that we could see the fire from our bed that would allow us to muffle the (small) noises that the furnace makes. If you look at my completely accurate sketch above, you'll see that we decided to create a custom door that would include a glass window so that we could see the flame from the fire.
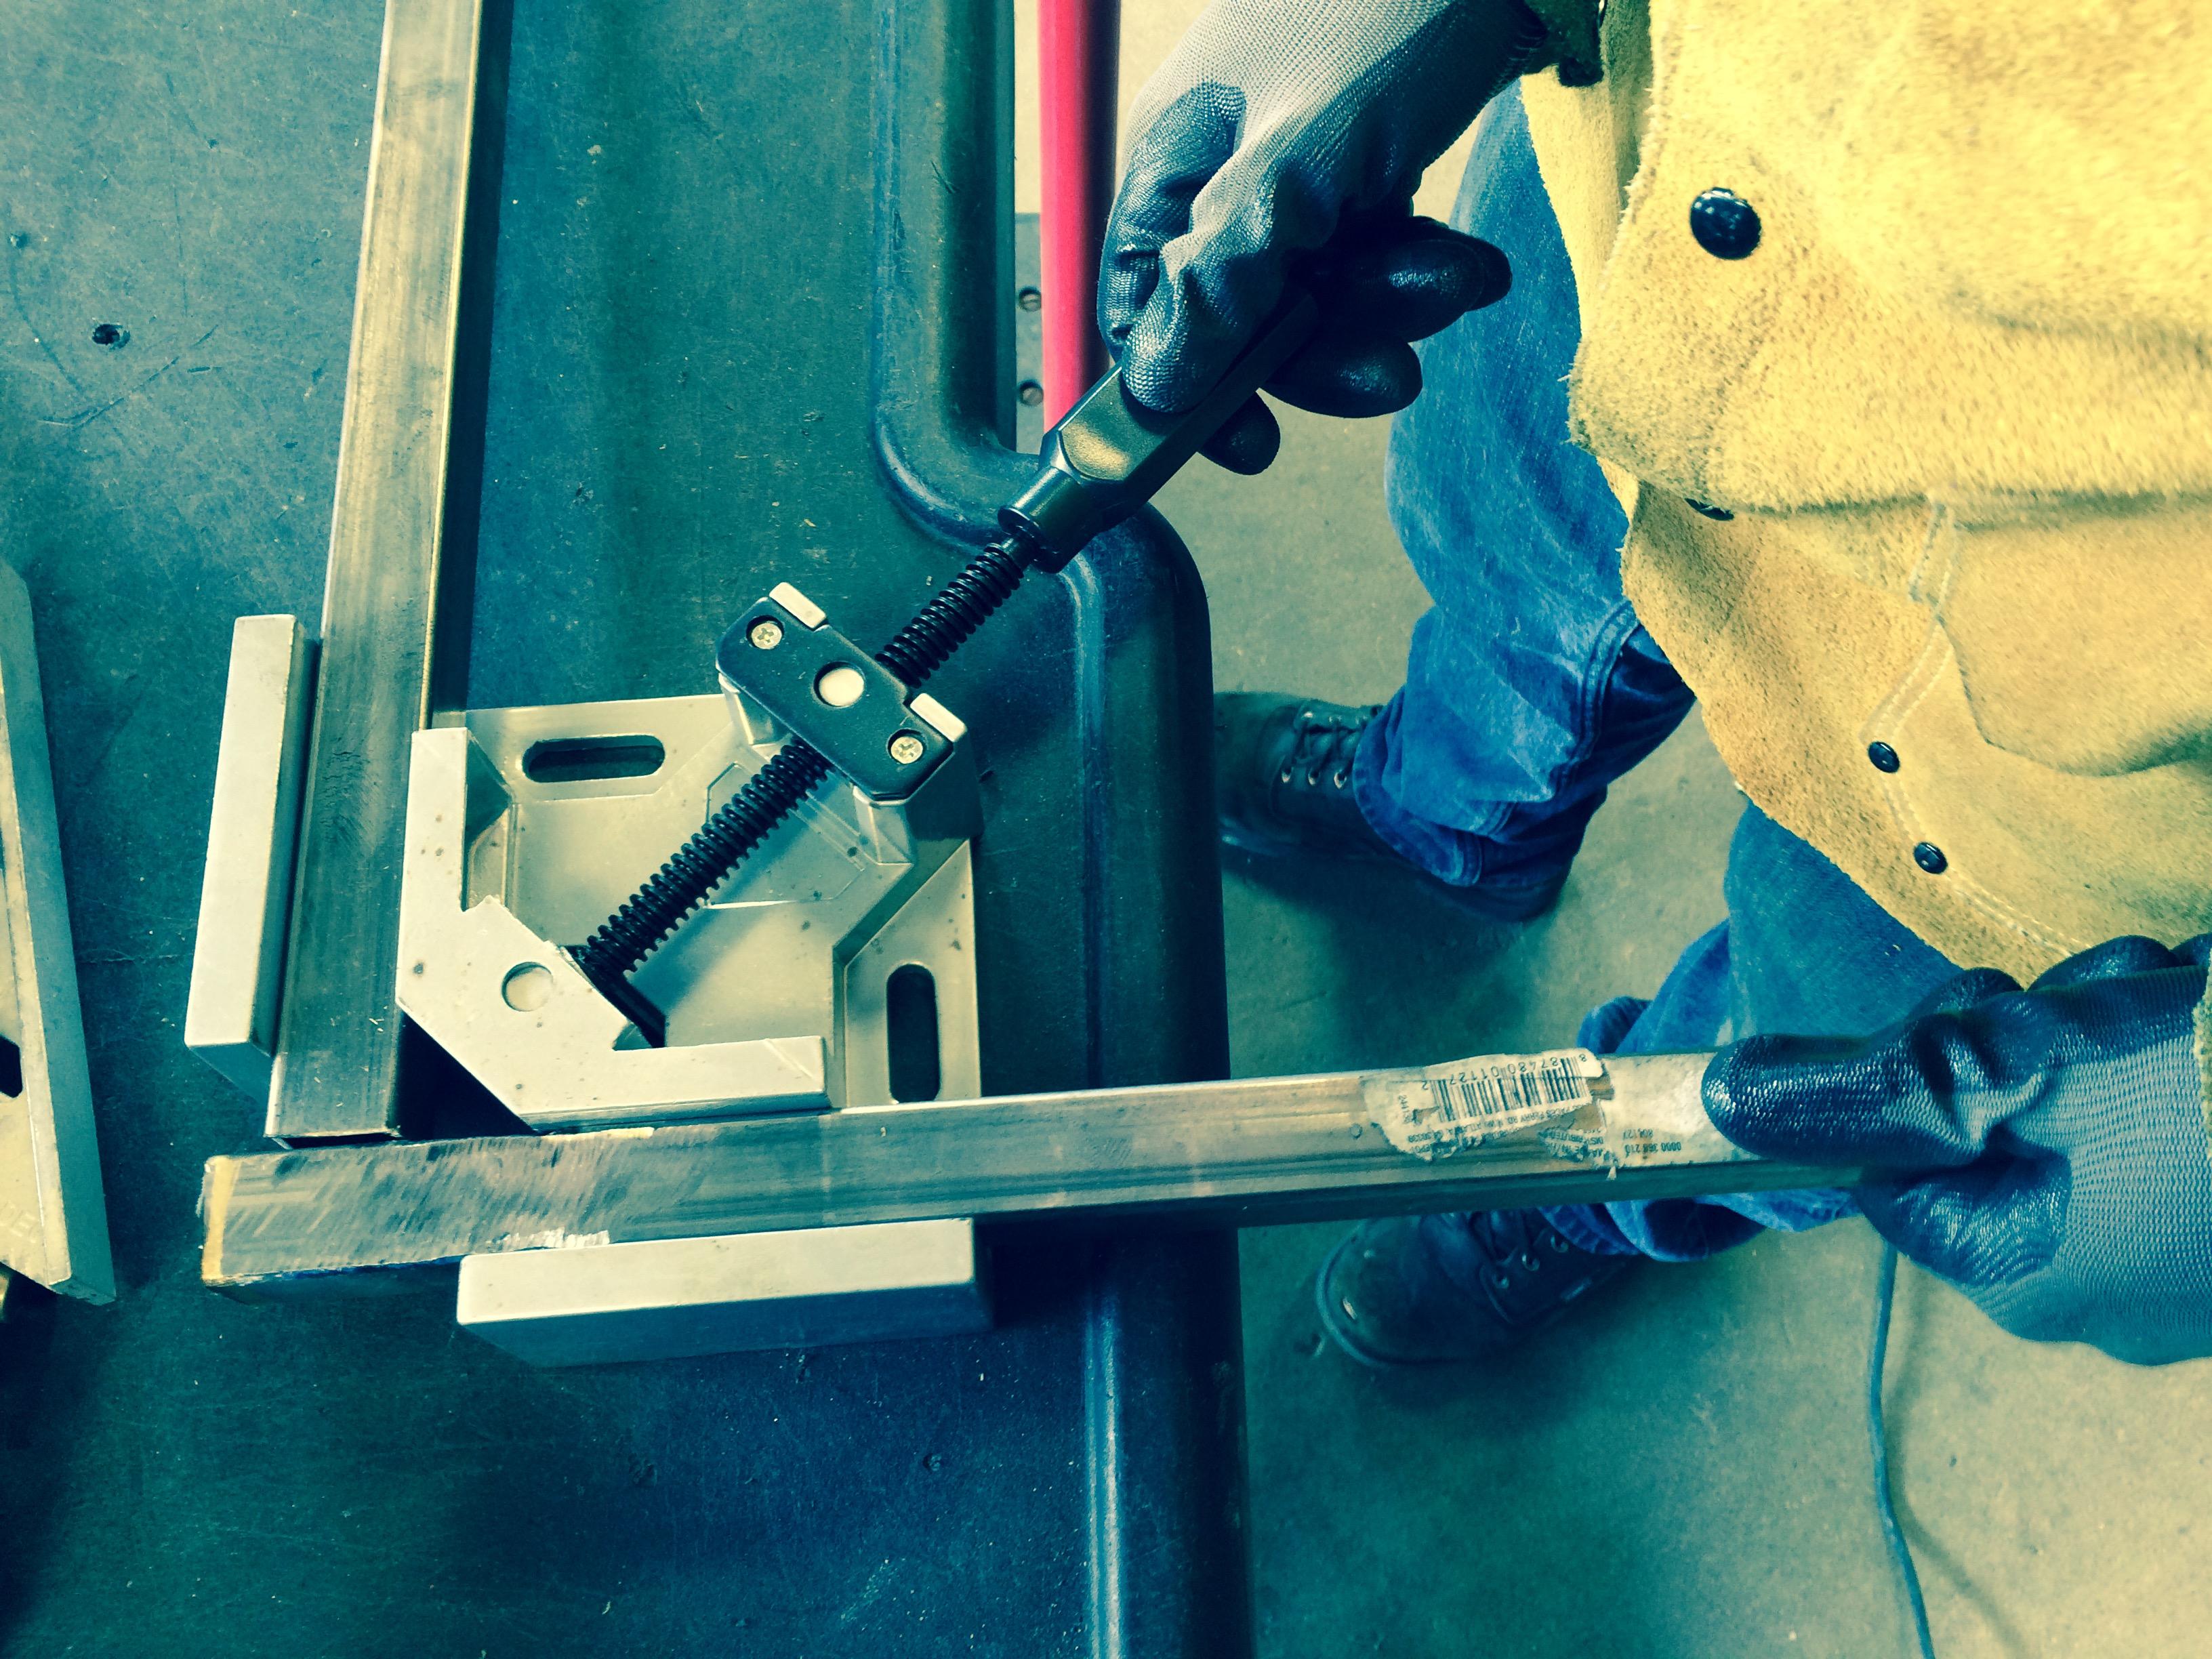
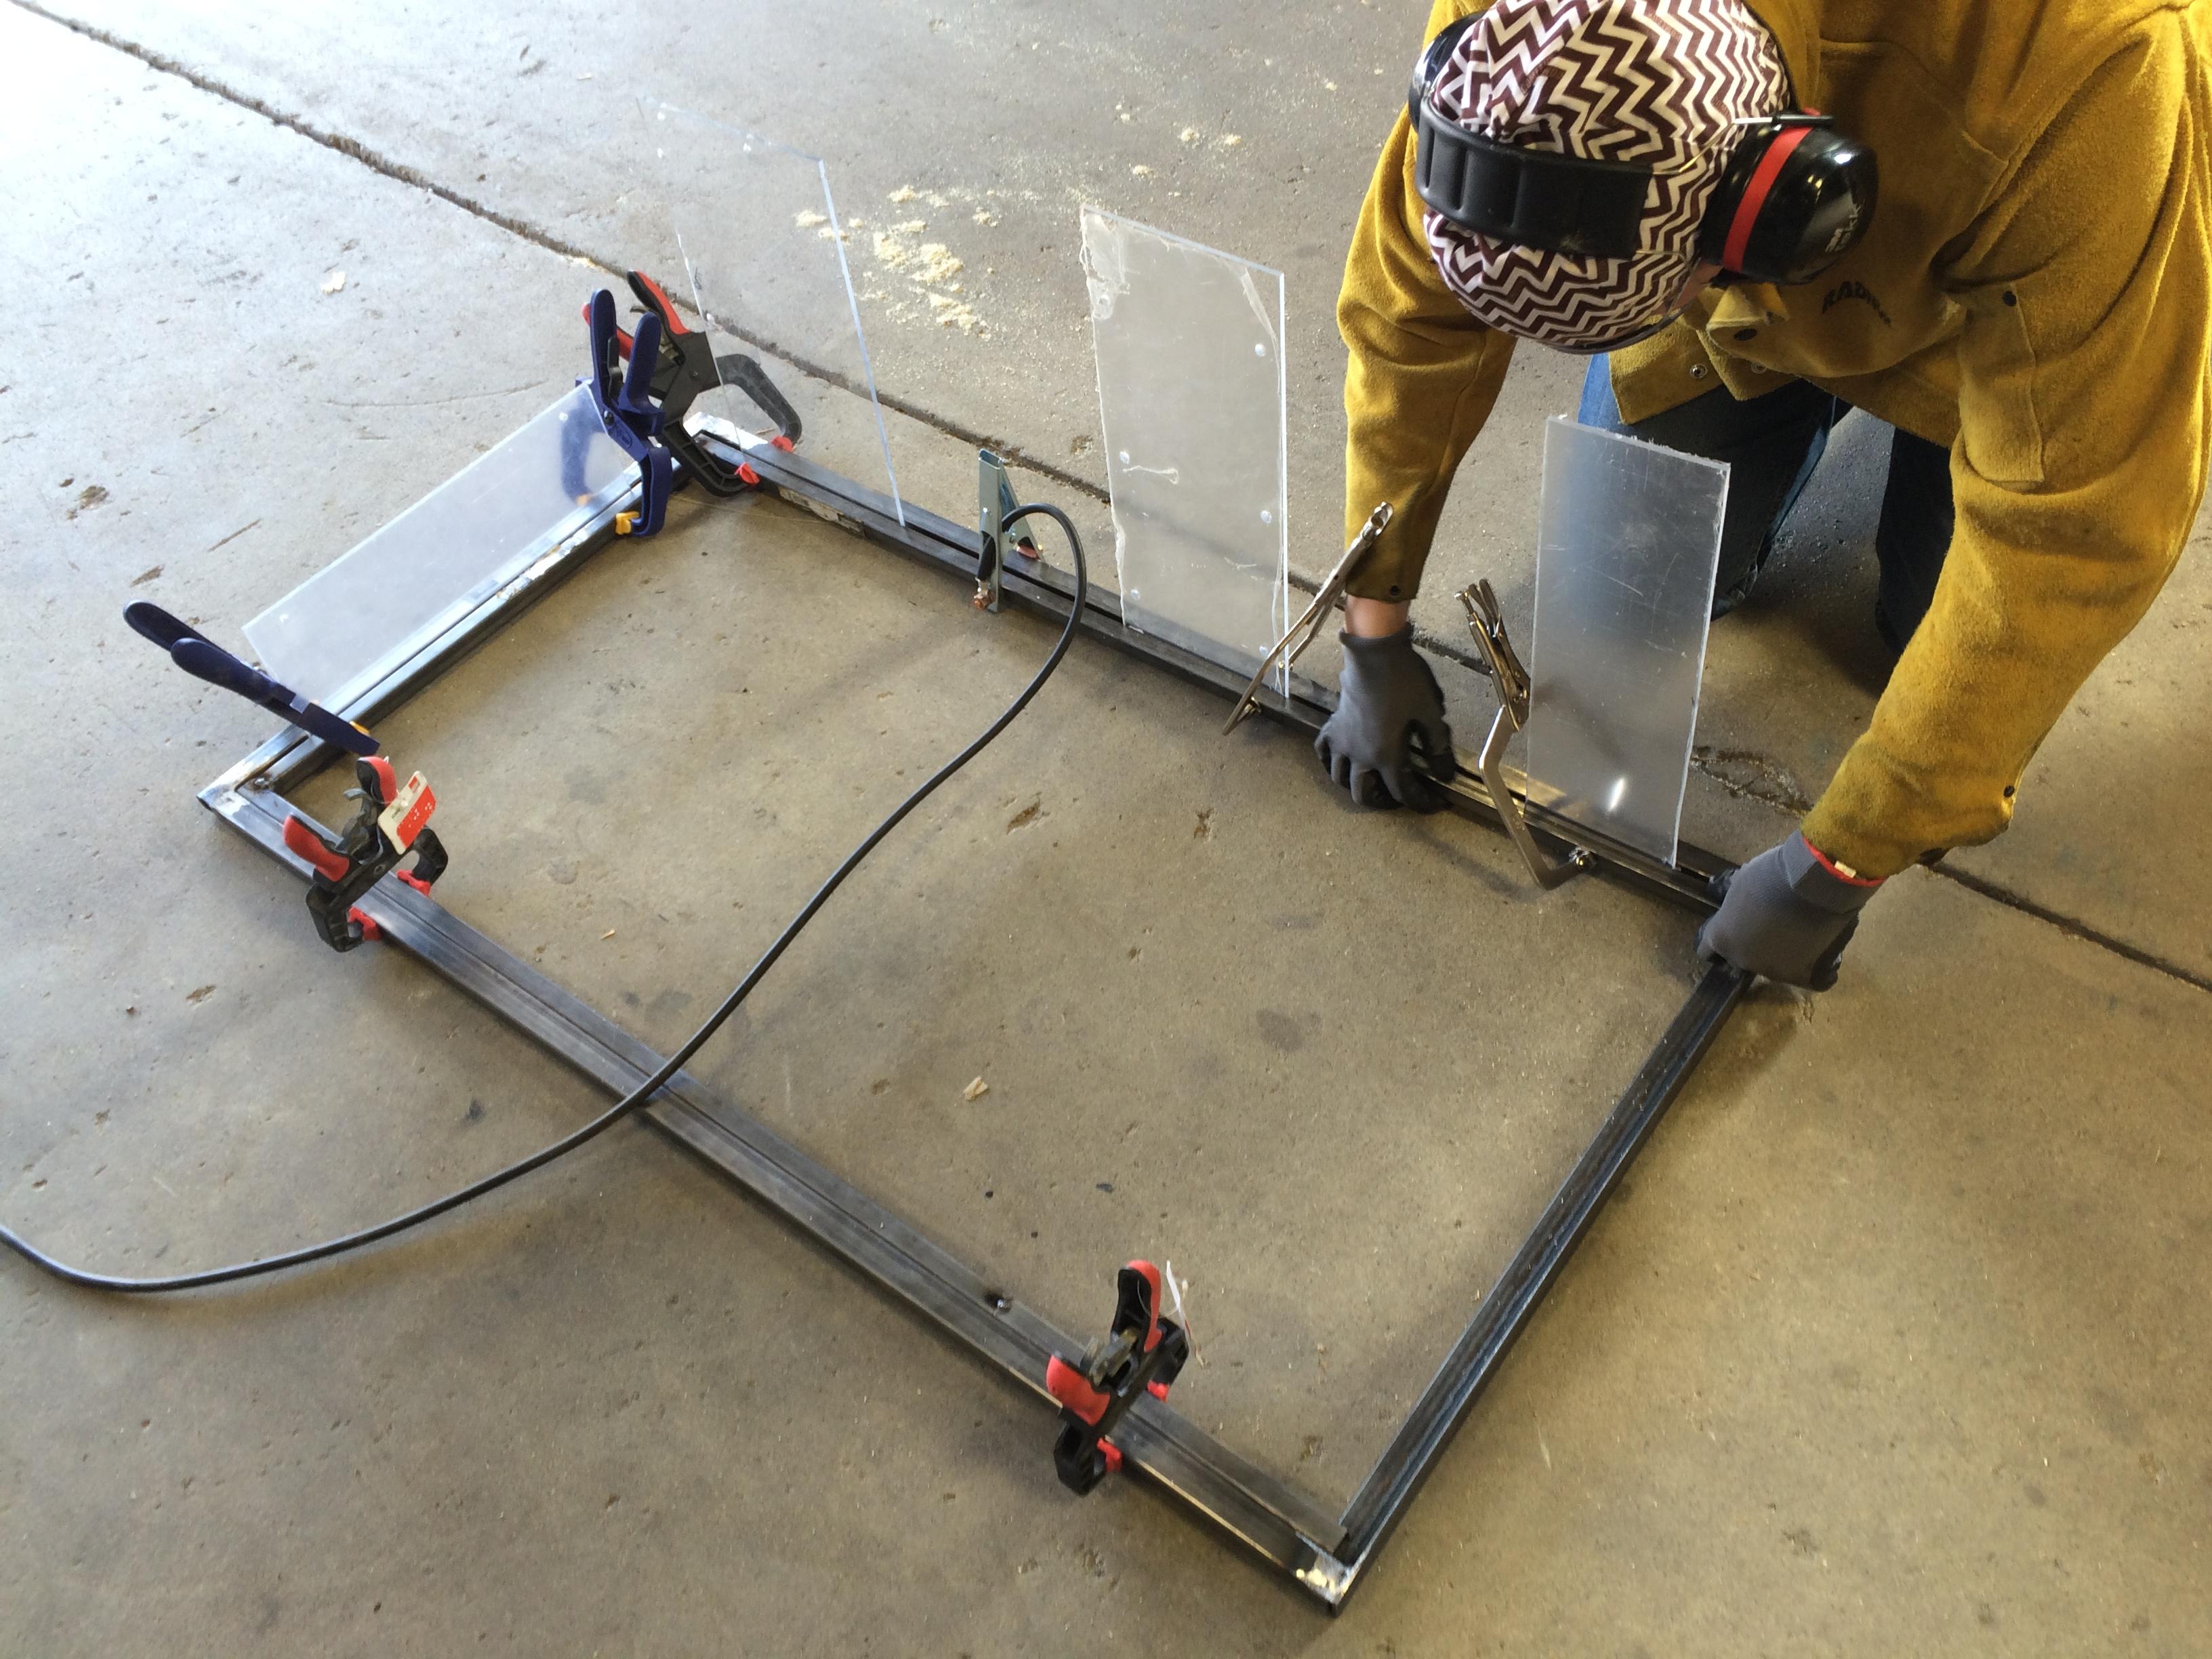
In the second picture you'll see the materials we were working with:
• Headphones to block the grinding noise
• LOTS of clamps
• steel at different widths and thicknesses
• 2 welding masks
• various measuring tools
• closures for the door (OUR FIRST AESTHEICLY INFLUENCED PURCHASE)
• hinges
• levels
• welding/grinding gloves
• Pieces of plexi glass that we used for spacing (found in the garage)
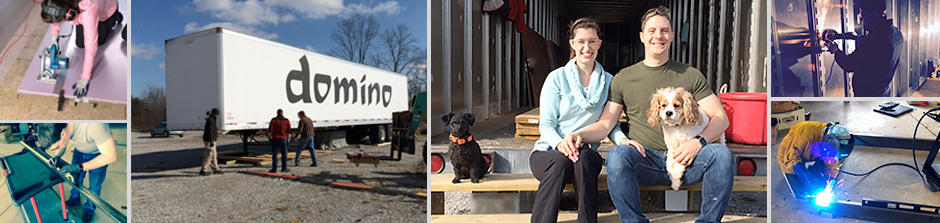
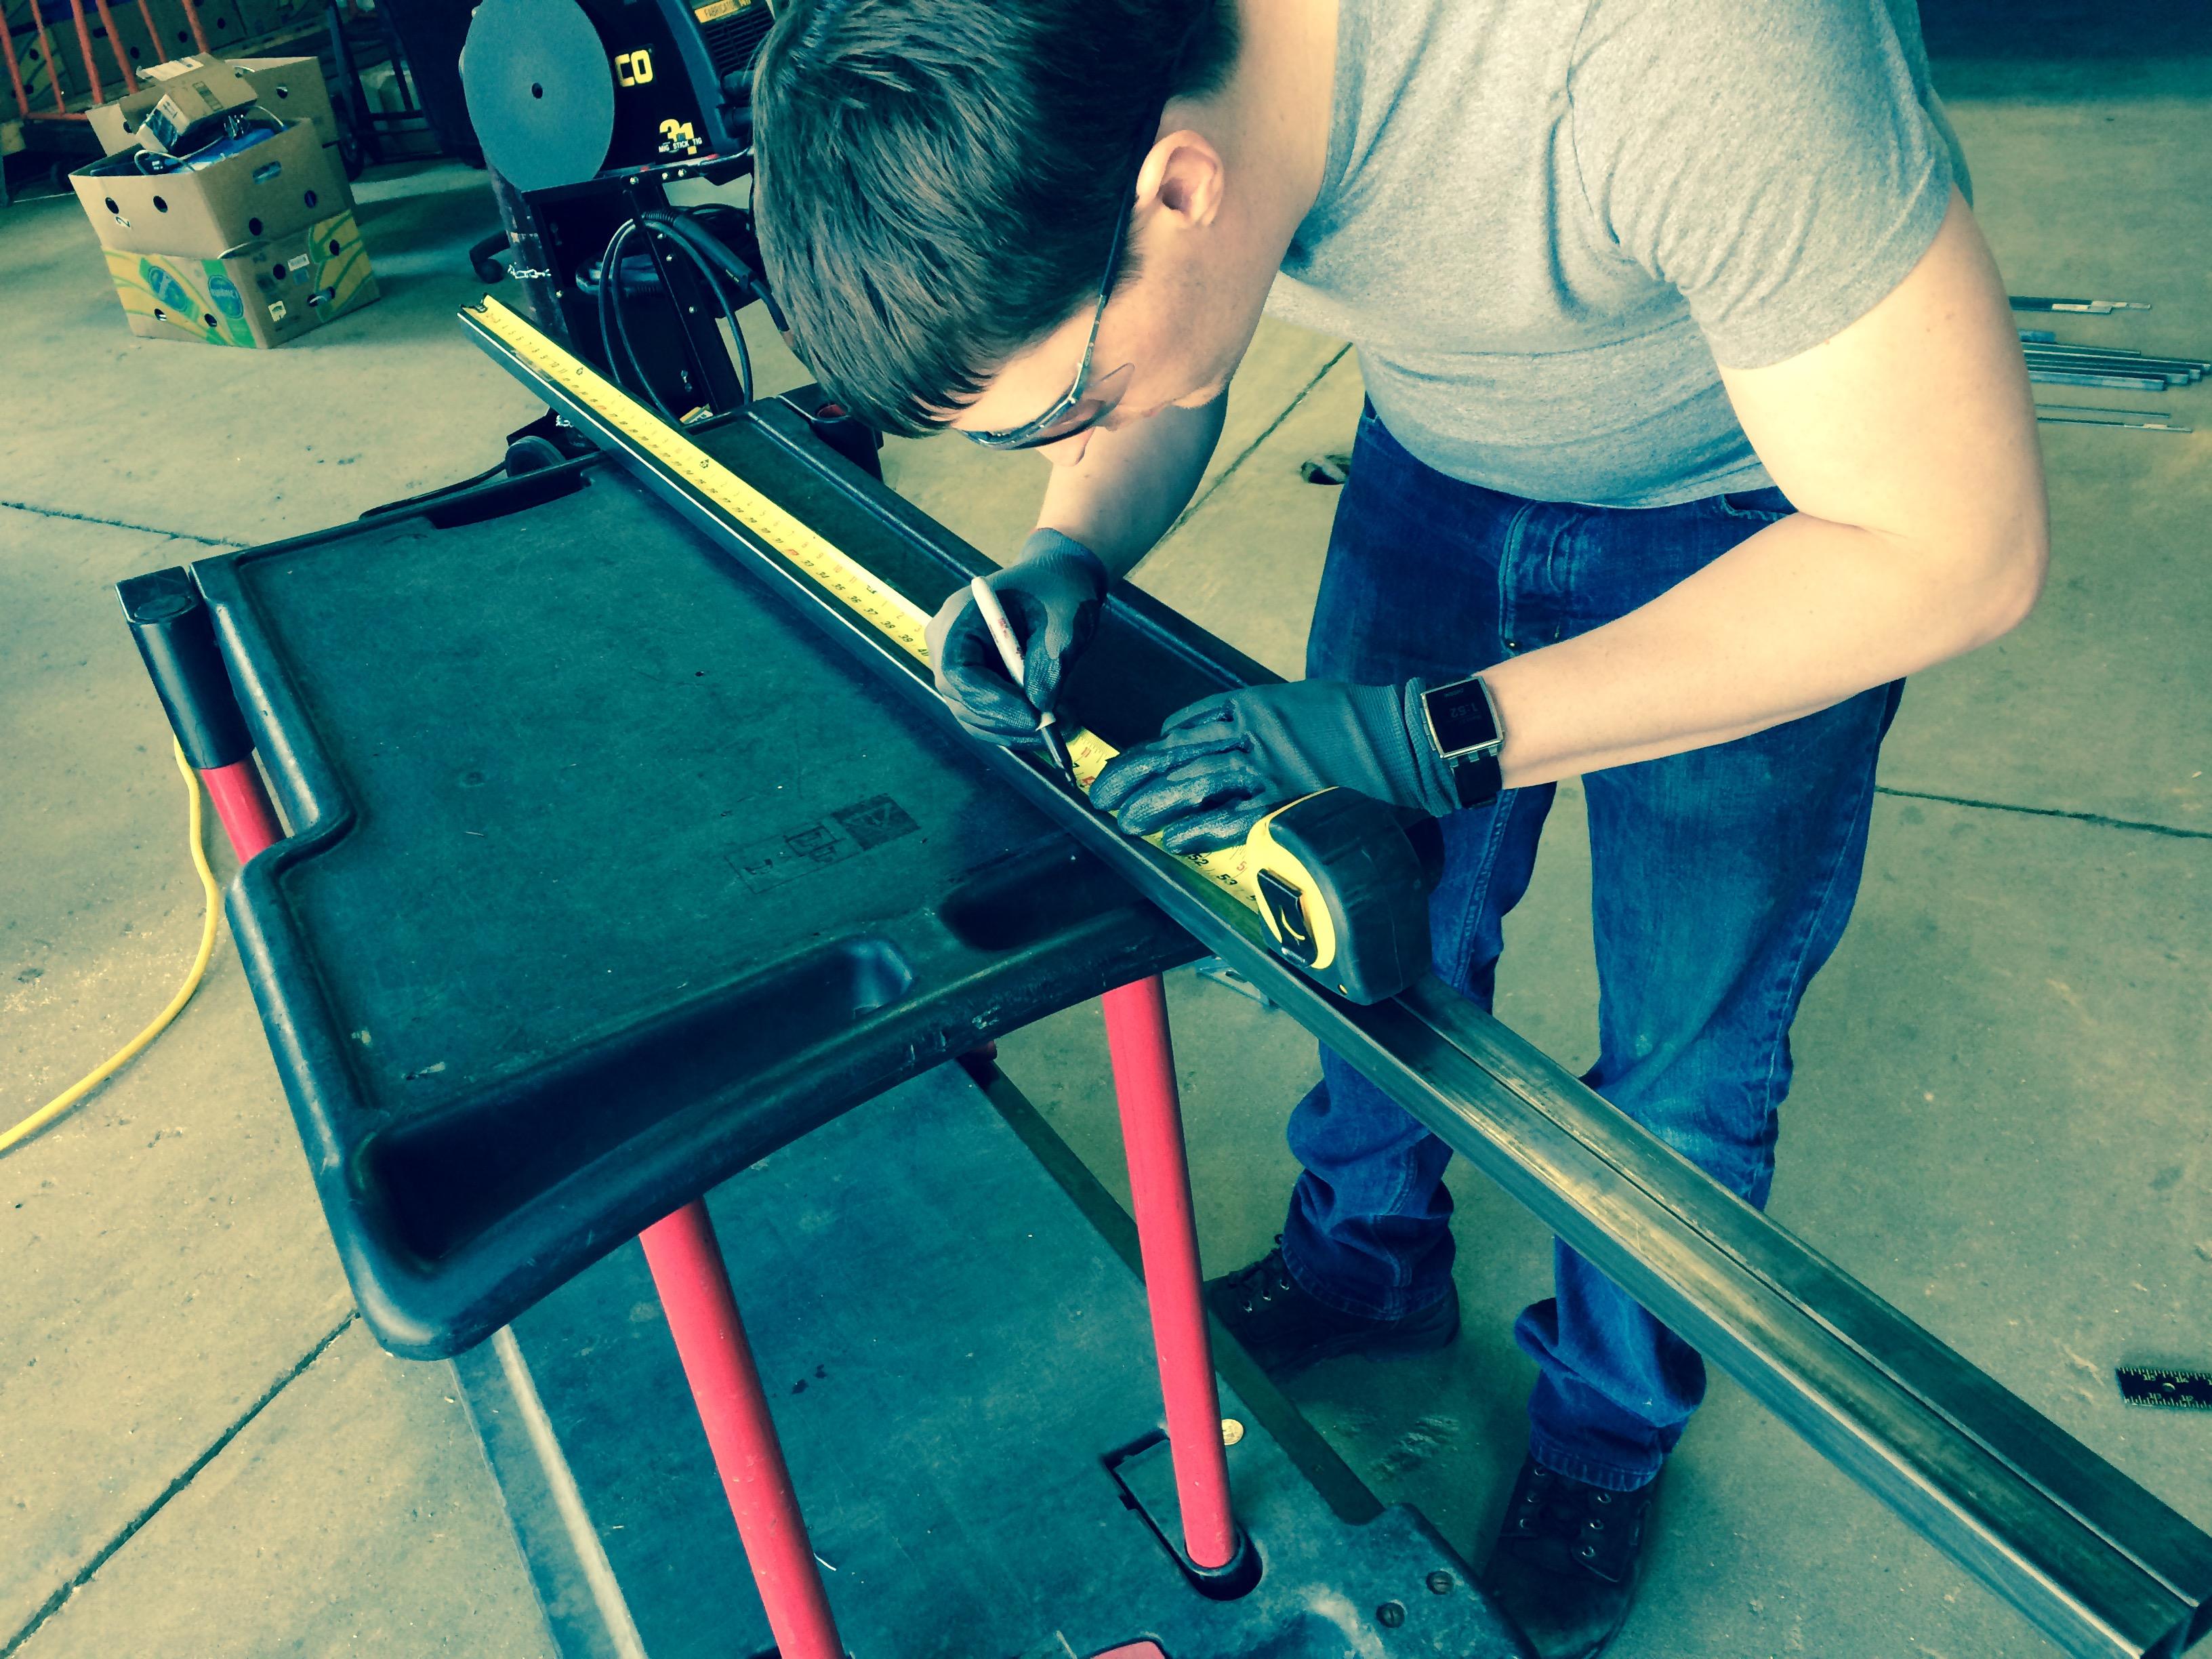
From there it has been a matter of measuring, cutting, clamping, welding, measuring and repeating these steps. While I can't yet share pictures of the final product, because *cough cough* we haven't finished it yet, I can say that some progress is better than none, right?
Specifics on the furnace:
• There are 5 settings for how much burn output
• It is 75,000 BTU on 5 and is pretty tame on setting 1
• We have bags of pellets (that resemble hamster bedding) that we load the furnace up with. The furnace regulates how much it adds to the flame based on the setting we choose.
• While the furnace is a beast, we hope it will get us through any cold conditions we may encounter on our travels.